In order to make our music video look more professional, as well as
give it a cinematic look; we decided to add black borders. The black
borders we made simply in Adobe Photoshop.
Firstly I opened up Adobe Photoshop and name our PSD file as Black Border (easy, simple name). I then set the width to 800 pixels and height 1200 pixels. Making my PSD
this size means that rather than trying to find the exact measurements
of the borders; it would be easily to use the crop tool and alter the
size as much as I would want.


 Once
I have set all the necessary details I clicked on the ok button and
proceed onwards. As you can on the right all the preferences I set gave
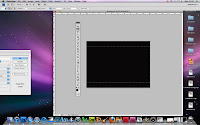
me a vertical rectangle white box. Next I needed to change the colour of the rectangle box to black before I can alter the size of the PSD. To do this I simply used the bucket tool selected the colour I wanted which was black then clicked on the rectangle box and it changed to black.
Next (using the crop tool) alter the size of the PSD. Using the crop tool
I change the vertical rectangle to a horizontal rectangle - by making
the rectangle horizontal it would fit much easier into our music video.
As you can see on the picture on the right I stretched the crop tool
across the rectangle box until it touched both ends and then pressed
the enter button; now it looks like this:
After I had made it the size I wanted it to be, I then used the select tool
and made it wide enough to make sure that on either size there is an
equal amount of black left out. I made sure the amount of black that I
left out was too skinny, in order for me to be able to play around with
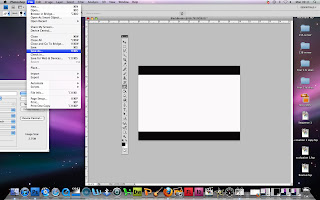
the size in Final Cut. Next using the CMD + X ( command and X keys) I cut out the selected part of the rectangle which gave me a white background.
Finally I have made the black borders which will give our music video
the professional, cinematic group. When I was finally satisfied with
the look of the black borders, I went to file - save as.


No comments:
Post a Comment